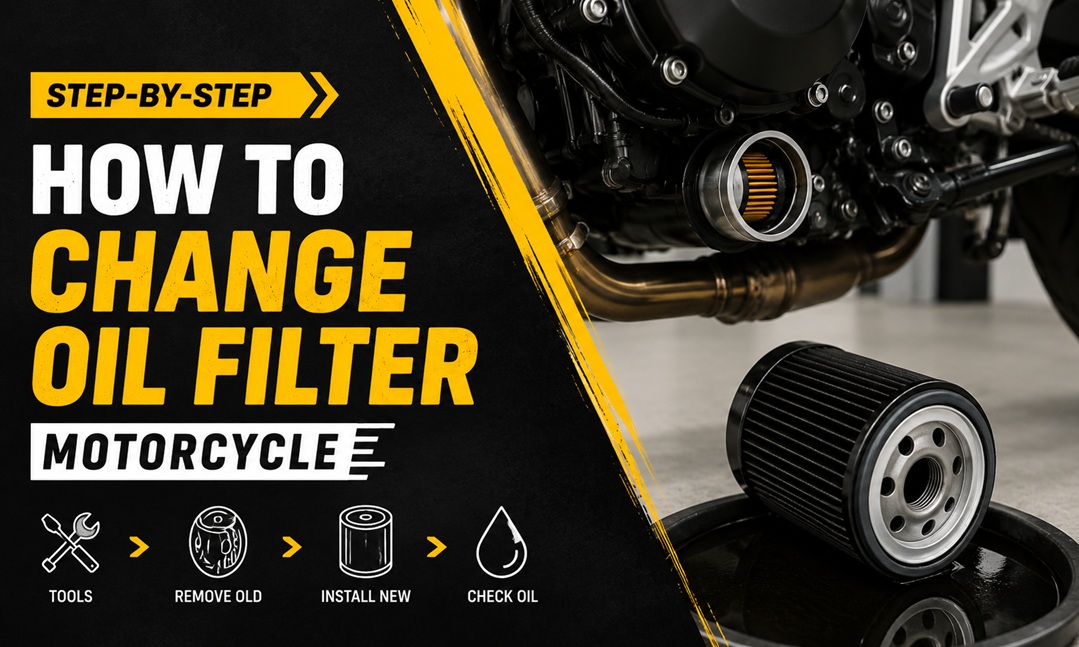
Changing the oil filter on your motorcycle is one of the most straightforward maintenance tasks you can do yourself. It takes about 30–45 minutes, costs under $30 in parts, and keeps your engine running clean. Whether you ride a Harley-Davidson, Honda, Kawasaki, or Yamaha, the basic process is the same: warm up the bike, drain the old oil, swap the filter, refill with fresh oil.
What Tools Do You Need to Change a Motorcycle Oil Filter?
Before you start, gather everything so you’re not hunting for tools mid-job.
- Oil drain pan (at least 1-gallon capacity)
- Oil filter wrench or socket (check your bike’s filter type — spin-on vs. cartridge)
- New oil filter (OEM or quality aftermarket)
- Fresh engine oil (check your owner’s manual for grade and quantity)
- Torque wrench
- Ratchet and socket set
- Funnel
- Rags or shop towels
- Gloves
Most cruisers in the US use a spin-on filter. Sport bikes and many adventure bikes use cartridge-style filters. Your owner’s manual will confirm which type you have.
How Often Should You Change a Motorcycle Oil Filter?
Most manufacturers recommend changing the oil filter every time you change the oil. For mineral oil, that’s typically every 2,000–3,000 miles. For synthetic, it’s usually every 5,000–7,500 miles. Always check your specific model’s service schedule — a 2023 Honda CB500F, for example, calls for an oil and filter change every 8,000 km (about 5,000 miles).
Step-by-Step: How to Change the Oil Filter on a Motorcycle
Step 1 — Warm Up the Engine
Run your bike for 3–5 minutes. Warm oil flows out faster and carries more contaminants with it. Don’t skip this step — cold oil drains slowly and leaves residue behind.
Step 2 — Position the Drain Pan
Place your drain pan under the drain plug. On most bikes, this is at the bottom of the engine case. Consult your manual if you can’t find it — some models have two drain points.
Step 3 — Remove the Drain Plug
Using the correct socket, loosen the drain plug counterclockwise. Once loose, remove it by hand and let the oil drain completely. This usually takes 5–10 minutes.
Step 4 — Remove the Old Oil Filter
Position your drain pan under the filter since some oil will spill when you remove it. Use your filter wrench and turn counterclockwise. If it’s stuck, apply steady pressure — don’t jerk it.
Step 5 — Prep the New Filter
Dab a small amount of fresh oil on the new filter’s rubber gasket. This helps it seal properly and makes future removal easier.
Step 6 — Install the New Filter
Hand-tighten the filter until the gasket makes contact with the engine, then tighten it an additional 3/4 turn. Do not overtighten — you’ll crush the gasket and cause leaks.
Step 7 — Reinstall the Drain Plug
Clean the drain plug threads and install a new crush washer if required. Torque the plug to the manufacturer’s spec — typically 20–30 Nm for most bikes. Guessing here is how stripped threads happen.
Step 8 — Add Fresh Oil
Insert the funnel and pour in the specified amount of oil. Most 650cc bikes take around 2–2.5 liters. Check your manual.
Step 9 — Check for Leaks
Start the engine and let it idle for 2 minutes. Check both the drain plug and filter for any drips. If you see a drip, shut it down immediately and reseat the component.
Step 10 — Check the Oil Level
Let the engine cool for a minute, then check the sight glass or dipstick. Top up if needed to reach the full mark.
Can You Change a Motorcycle Oil Filter Without Draining the Oil?
Technically possible on some bikes, but not recommended. When you remove the filter, oil will flow out regardless. If you change only the filter without draining the sump, you’re leaving old contaminated oil in the engine and mixing it with whatever fresh oil was in the filter housing. Always do the oil change and filter change together.
Pro Tips to Avoid Common Mistakes
- Never reuse a crush washer — they’re designed for one use
- Label your used oil container before recycling — most auto parts stores in the US accept used motor oil for free
- Check the old filter gasket is still on the filter, not stuck to the engine
- Use a permanent marker to write the mileage on the new filter so you can track intervals
- Dispose of used oil properly — never pour it down the drain
How Much Does a Motorcycle Oil Filter Change Cost?
DIY cost runs $15–$30 for a quality filter plus $20–$50 for synthetic oil. If you take it to a shop, labor adds another $30–$80 depending on your location. In cities like Chicago, LA, or Houston, shop labor rates tend to be higher than rural areas. Doing it yourself saves money and gives you direct knowledge of what went into your engine.